The 30lb class is the workhorse line class for SoCal offshore fishing. It’s the reel you grab when the party boat heads to the Coronado Islands for yellowtail, when white seabass are in the kelp, or when school-sized tuna show up on the offshore banks. Heavy enough to stop serious fish, light enough to fish all day without burning out — this is the line class that sees more action on SoCal boats than any other.
If you already have a 20lb setup for lighter work, a 30lb reel is the logical next step up. And if you’re chasing bigger bluefin, check our 40lb+ reel guide for the next class up.
⚡ Quick Picks
Best overall: Penn Squall II 25N — lever drag, smooth, and the most common 30lb reel on SoCal party boats.
Best two-speed: Shimano Talica 12 II — high/low gearing for grinding deep yellowtail.
Best premium: Daiwa Saltiga SASD35HA — bulletproof build, tournament-grade drag.
Best value: Daiwa Saltist 30 — 80% of the performance at half the price.
What the 30lb Class Covers
A 30lb class reel is designed for 30lb monofilament or its braid equivalent — typically 40–50lb braided line. You want at least 15–20 pounds of max drag, 300+ yards of line capacity, and gearing that can handle extended battles with powerful fish.
In SoCal, this class handles: yellowtail (the primary target — 15–40lb fish that fight like freight trains), white seabass, school bluefin tuna (15–40lb), yellowfin tuna, lingcod on heavy structure, and calico bass when big models are in the kelp and you need to horse them out. It’s also the right class for heavy yo-yo jigging and surface iron on bigger fish.
Best Conventional Reels — 30lb Class
Conventional reels dominate this class because most 30lb fishing involves bait drops, vertical jigging, or situations where line capacity and drag power matter more than casting distance.
Best Overall: Penn Squall II 25N (Lever Drag)
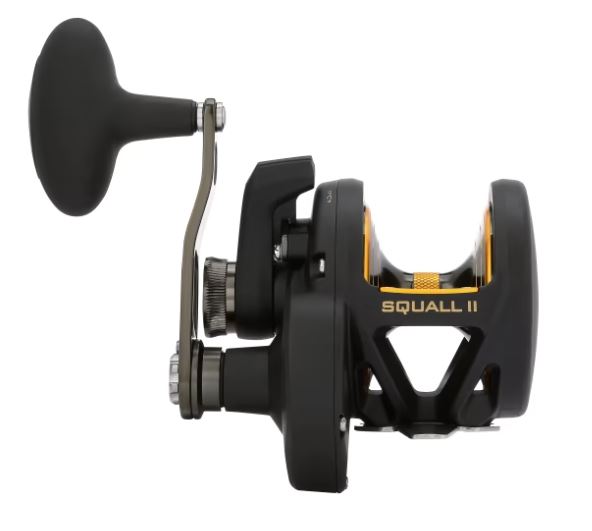
The Squall II in the 25 narrow size is the most popular 30lb class reel on SoCal party boats, and for good reason. The lever drag gives you precise control during the fight — critical when a yellowtail decides to dive into the kelp. It holds plenty of 40lb braid, the drag is smooth and consistent, and the price won’t make you flinch when salt spray is hitting it all day. This is the reel you’ll see on nearly every rail from San Diego to Ventura.
Best Two-Speed: Shimano Talica 12 II
![]()
When you need to winch yellowtail up from deep structure or grind on a stubborn white seabass, a two-speed reel is worth its weight. The Talica 12 gives you a high gear for fast retrieves and line pickup, then a low gear that nearly doubles your cranking power for the toughest moments of the fight. It’s the same reel family that SoCal tuna anglers swear by (the larger Talica 16 and 20 handle bluefin), just sized down for the 30lb class. Premium price, but a lifetime reel if maintained.
Best Premium: Daiwa Saltiga SASD35HA
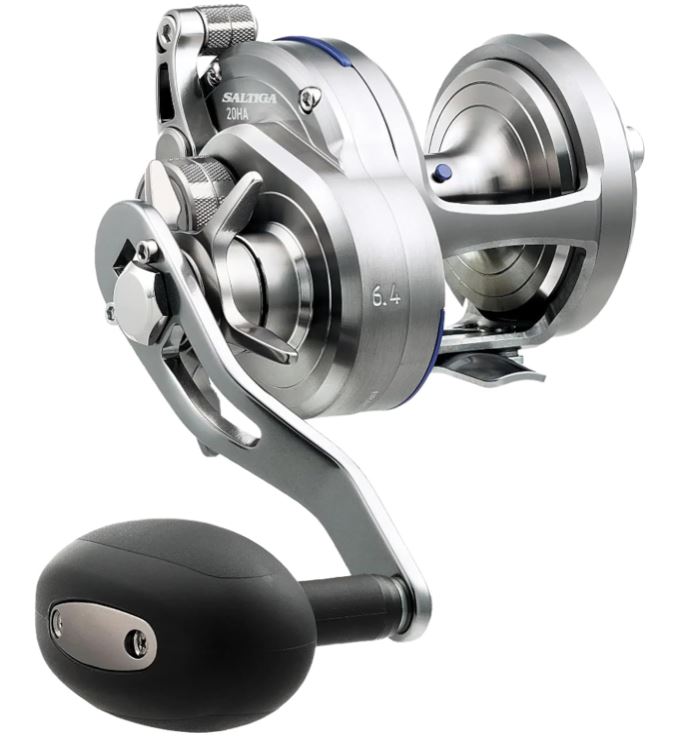
The Saltiga is the reel you buy when you’re done upgrading. Daiwa’s flagship conventional is built to an absurd standard — fully machined aluminum frame, Magsealed bearings that lock out saltwater, and a carbon drag system that delivers smooth, fade-free pressure even on long yellowtail and tuna runs. The SASD35HA gives you a high-speed retrieve ratio that picks up line fast when fish run toward you, while still having the cranking torque to pull big yellows off the bottom. It’s overkill for the 30lb class in the best possible way. If you fish 30+ times a year and demand zero compromises, this is it.
Best Value: Daiwa Saltist 30
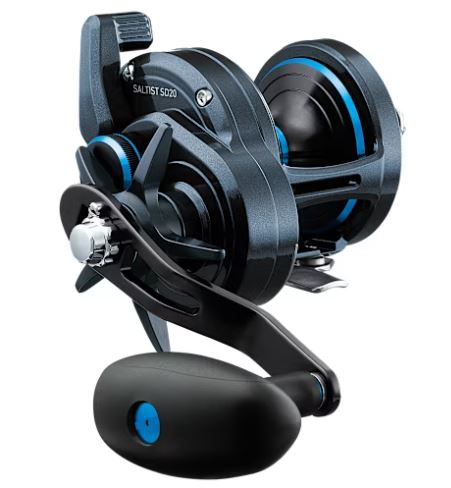
A solid star-drag conventional that gives you 80% of the Talica’s performance at half the price. The drag system is smooth and reliable, the frame is rigid under load, and it handles the abuse of SoCal fishing without issue. Star drag is simpler than lever drag — less to adjust during the fight — which some anglers prefer. A great second reel or a smart choice for anglers who don’t want to invest in lever drag.
Best for Jigging: Shimano Ocea Jigger
![]()
Purpose-built for vertical jigging, the Ocea Jigger has a narrow spool profile that reduces line friction during drops, and a gear system optimized for the repeated pump-and-wind motion of yo-yo jigging. If vertical jigging is your primary technique — especially at the islands or kelp paddies — this reel’s ergonomics and performance are a clear step above general-purpose conventionals. Pairs with a dedicated jig rod for maximum effectiveness.
Best Spinning Reels — 30lb Class
When you need casting distance — throwing surface iron, casting swimbaits, or pitching live bait to breaking fish — spinning reels have the edge.
Best Overall: Shimano Saragosa SW 6000
![]()
When you need casting ability in the 30lb class — throwing heavy iron, casting swimbaits, or pitching live bait — a spinning reel is the way to go. The Saragosa 6000 has the drag power (25+ lbs) and line capacity to handle this class while maintaining the casting advantages of an open spool. Waterproof, durable, and field-proven on SoCal boats for years.
Best Premium: Shimano Twin Power SW 6000
![]()
A step up from the Saragosa in smoothness and weight, the Twin Power SW is the choice for anglers who cast iron all day and need a reel that’s both powerful and light. The infinite anti-reverse is flawless, the drag startup is instant, and it handles big yellowtail without flinching. More than most people need, but it’s hard to go back to lesser reels once you’ve fished one.
Pairing Your 30lb Reel
For conventional reels in this class, a 7-foot rod in medium-heavy to heavy power with a fast action is standard. Graphite blanks keep the weight down for long days. For spinning reels, a 7′ to 7’6″ medium-heavy fast rod gives you casting distance for iron work. An 8-foot rod is worth considering if you’re primarily casting surface iron and need maximum distance.
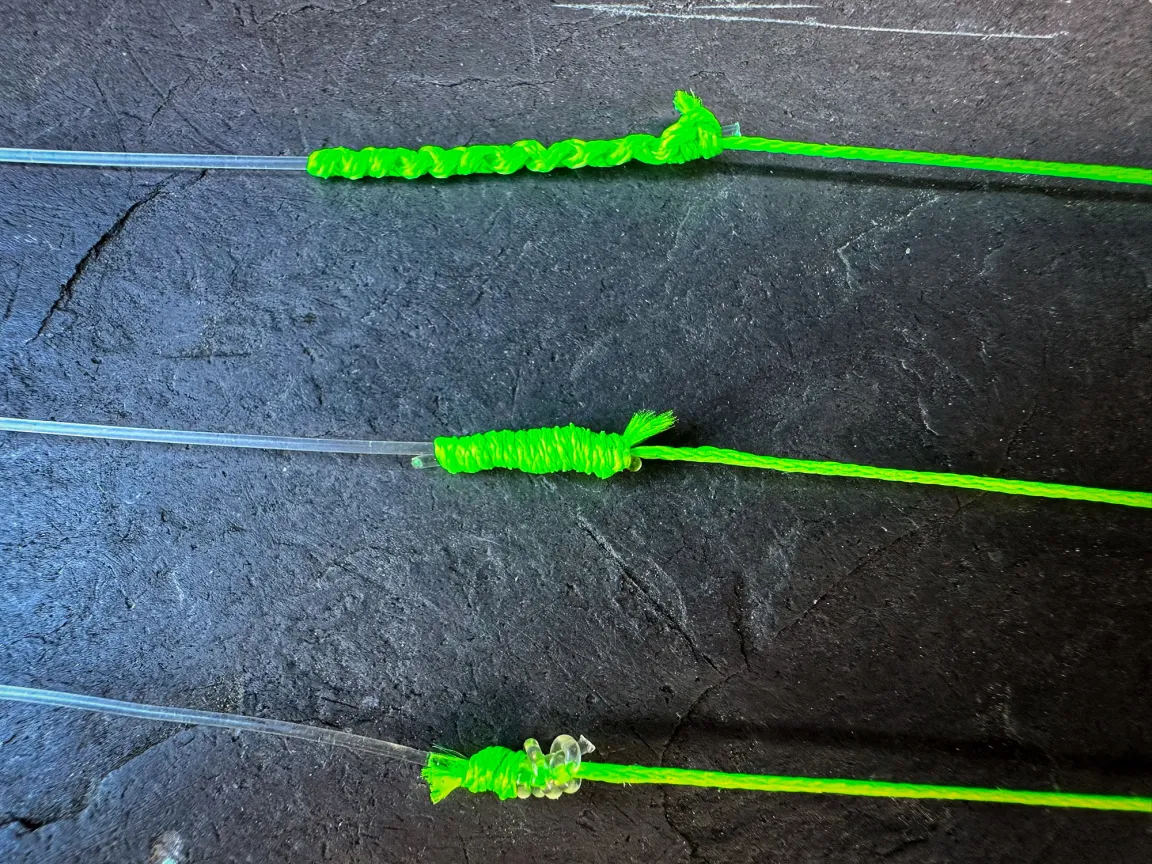
Line: 40–50lb braid main line, 30–40lb fluorocarbon leader. The braid maximizes capacity and sensitivity; the fluoro leader handles abrasion from structure, kelp, and toothy fish. Connect them with an FG or Alberto knot for a slim, guide-friendly connection. See our best fishing line by pound test guide for specific brand picks.
Hooks: Circle hooks (2/0–4/0) for live bait on yellowtail and white seabass, or match hook size to your target species.
Rigs: A slider rig is the go-to for live bait presentations in the 30lb class. For bottom fishing, a dropper loop puts your bait right in the zone.
See our best rod and reel combo guide for complete pairing recommendations at every budget.
Frequently Asked Questions
What is a 30lb class reel used for?
The 30lb class covers most SoCal offshore fishing: yellowtail, white seabass, school-size bluefin and yellowfin tuna, lingcod, and big calico bass. It’s the standard party boat reel for trips to the Coronado Islands, Catalina, and San Clemente.
Should I get a conventional or spinning reel for 30lb?
Conventional is the default for most 30lb fishing — it gives you more line capacity, better drag, and lever/star drag control for bait fishing and jigging. Get a spinning reel if you primarily cast surface iron or swimbaits and need distance.
What’s the difference between lever drag and star drag?
Lever drag lets you adjust drag pressure precisely during the fight with a sliding lever — ideal for yellowtail that make surging runs near structure. Star drag uses a wheel behind the handle and is simpler but less precise. Lever drag costs more but gives you better control when it matters.
Do I need a two-speed reel?
Not always, but it helps. Two-speed gives you low gear for grinding deep fish and high gear for fast retrieves. If you fish deep structure regularly or target white seabass and tuna alongside yellowtail, two-speed is worth the upgrade. For pure surface work and kelp fishing, single-speed is fine.
What line should I put on a 30lb reel?
40–50lb braided line with a 30–40lb fluorocarbon leader. Braid gives you capacity and sensitivity; fluoro gives you abrasion resistance and invisibility. See our line guide for specific brands.
What’s the best rod to pair with a 30lb reel?
A 7-foot medium-heavy rod is the most versatile choice for conventional. For spinning and iron casting, consider a 7’6″ to 8-foot rod. See our combo guide for matched pairings.
Plan Your Trip
Check conditions before heading out:
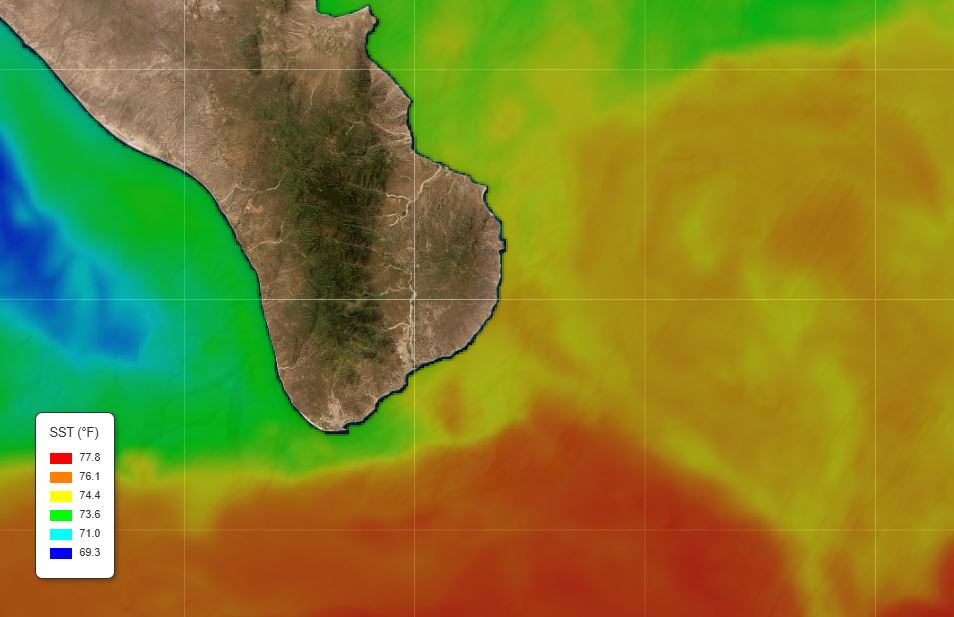
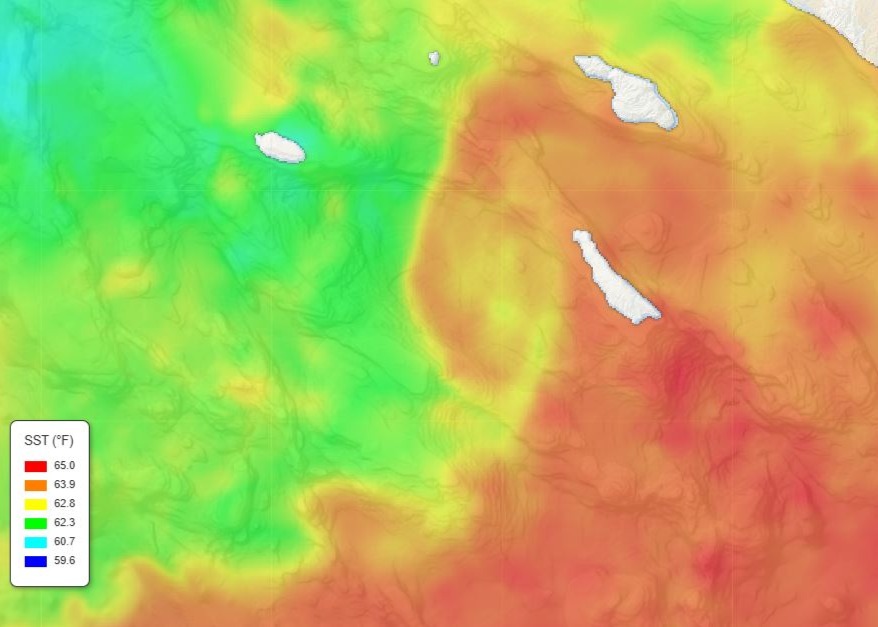
- SST Chart — Water temperatures and temperature breaks
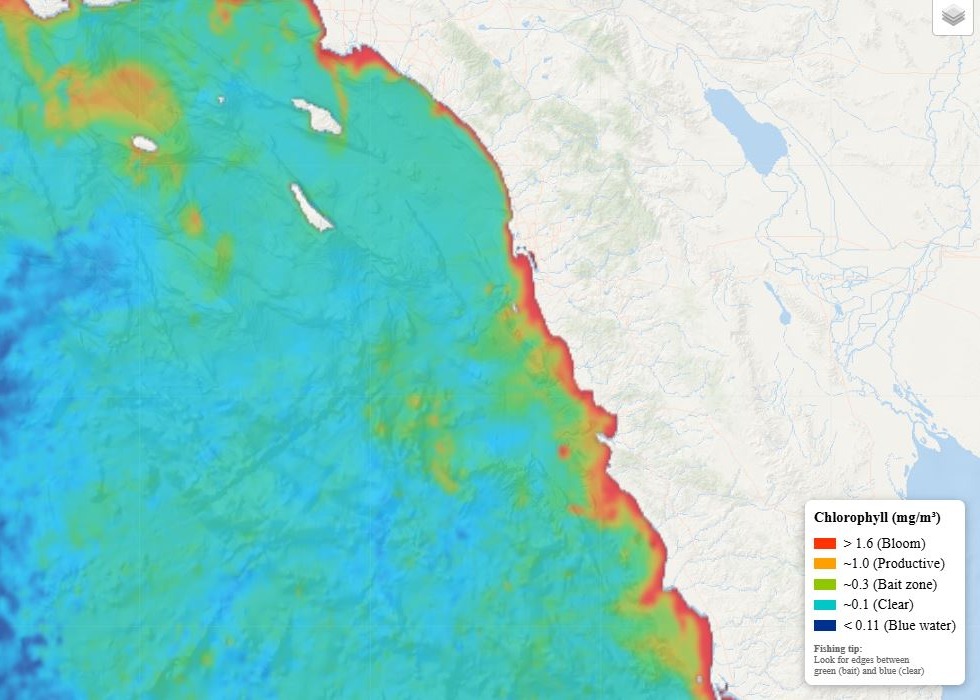
- Chlorophyll Map — Where bait is stacking up
- Marine Weather — Wind, swell, and sea conditions
- Fleet Tracker — Where the fleet is finding fish
- AI Fishing Predictions — Data-driven forecasts for SoCal
- SD Fishing Season Calendar — What’s biting this month
- Overnight Trip Packing List — Don’t forget anything
Related Guides
- Best 20lb Reels for SoCal — lighter class for bass and light line
- Best 40lb+ Reels for Tuna — step up for serious bluefin
- Best Reel for Yellowtail — species-specific picks
- Best Reel for Bluefin Tuna — what you need for the big ones
- Best 7ft Offshore Rods
- Best 8ft Offshore Rods
- Best Rod & Reel Combos for SoCal
- Jigs vs Irons vs Poppers
- Best Jigs and Irons for Yellowtail
- Best Lures for Dorado
Tight lines!