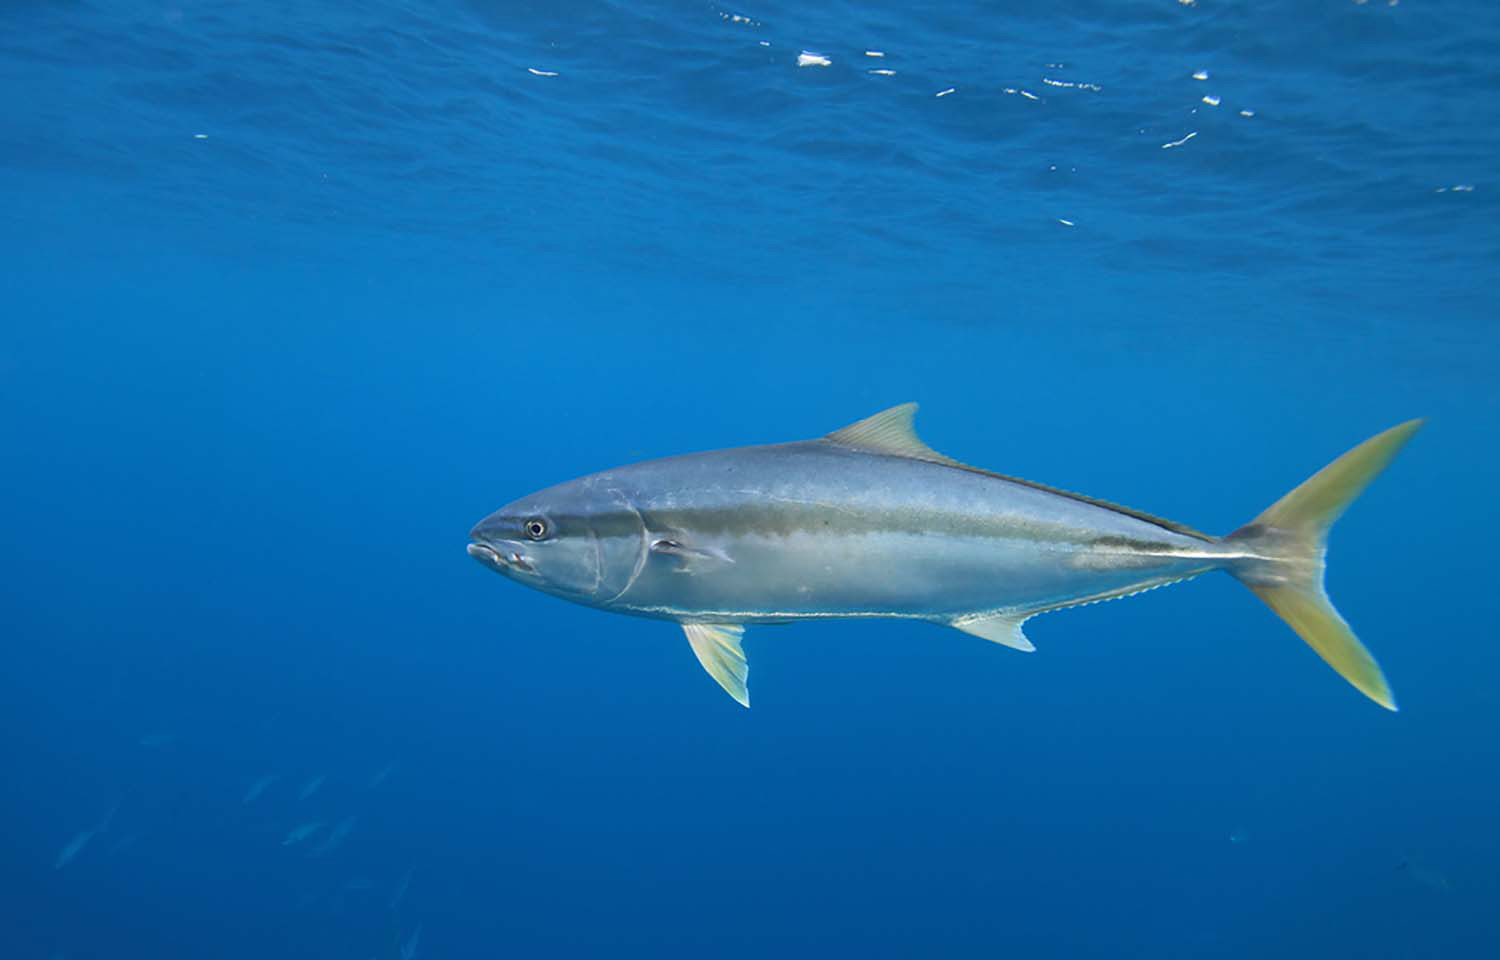
The 20lb class is the sweet spot for a huge chunk of SoCal fishing. It’s heavy enough to handle yellowtail in open water, light enough for calico bass in the kelp, and versatile enough that one reel in this class can cover most of what a party boat or private boat throws at you. If you’re building your SoCal tackle arsenal and need one reel that does the most, this is the line class to start with.
This guide covers both spinning and conventional reels in the 20lb class, because both have their place depending on what you’re doing. When you’re ready to step up to heavier fish, see our 30lb reel guide.
⚡ Quick Picks
Best spinning: Shimano Saragosa SW 5000 — the SoCal workhorse. Bulletproof, smooth, handles everything.
Best value spinning: Daiwa BG MQ 4000 — 80% of the Saragosa at half the price.
Best conventional: Shimano Torium 16 — compact, smooth, perfect for party boat bait fishing.
Best value conventional: Penn Squall II 15 — reliable star drag at a great price.
Best for casting jigs: Accurate Valiant 300 — twin drag, casts like a spinning reel.
What “20lb Class” Actually Means
A 20lb class reel is designed to fish 20lb monofilament or its braid equivalent — typically 30–40lb braided line, which has the same diameter as 20lb mono. The reel should have at least 10–15 pounds of max drag, hold 200+ yards of line, and have gears strong enough to handle sustained fights with fish in the 10–30 pound range.
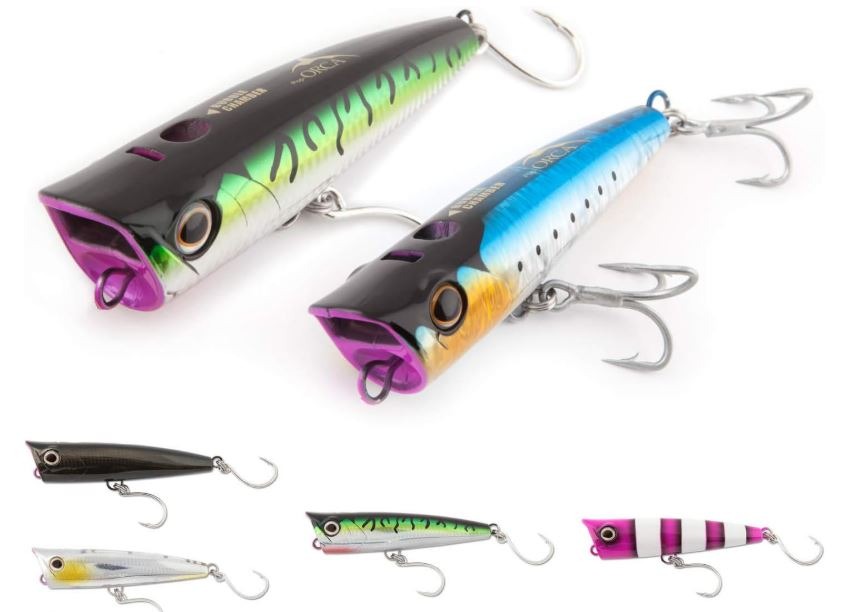
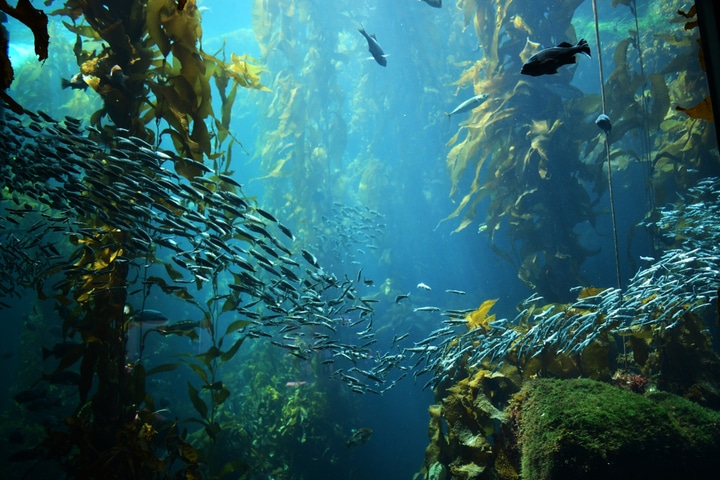
In SoCal, a 20lb setup covers: calico and sand bass, bonito, barracuda, smaller yellowtail (10–20lb class), white seabass, sheephead, lingcod, and light-line situations where bigger fish might show up but you’re willing to play them longer. It’s also the ideal class for casting surface irons and swimbaits.
Best Spinning Reels — 20lb Class
Spinning reels shine in the 20lb class for casting — throwing iron, swimbaits, and live bait to breaking fish or into the kelp. If casting distance matters, go spinning.
Best Overall: Shimano Saragosa SW 5000
![]()
The Saragosa has been a SoCal staple for years. The 5000 size sits perfectly in the 20lb class — 25 pounds of max drag, smooth waterproof construction, and a gear ratio fast enough for burning iron. It handles sand, salt spray, and the abuse of party boat fishing without complaint. Spool it with 30lb braid and you’ve got a reel that works from the kelp beds to the offshore banks. The bigger Saragosa 6000 steps up to the 30lb class if you need more capacity.
Best Value: Daiwa BG MQ 4000
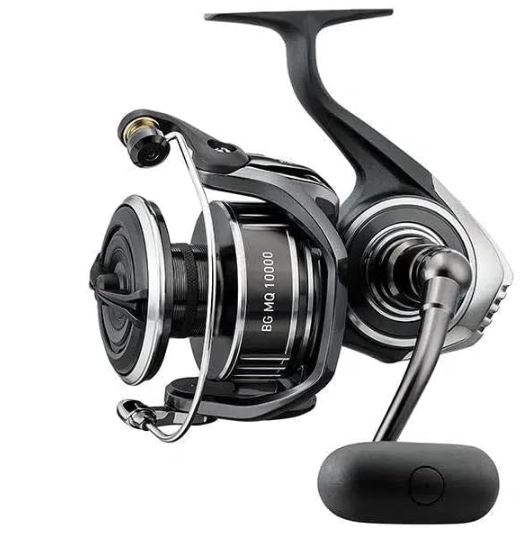
The BG has been the budget king in SoCal for good reason — the drag system punches way above its price, the body is sealed and durable, and it casts beautifully. The MQ (monocoque body) version adds rigidity under load. At roughly half the price of the Saragosa, it’s the obvious choice if you want excellent performance without the premium price tag. A great first saltwater reel or a smart backup to keep in the rod rack.
Best Premium: Shimano Stella SW 5000
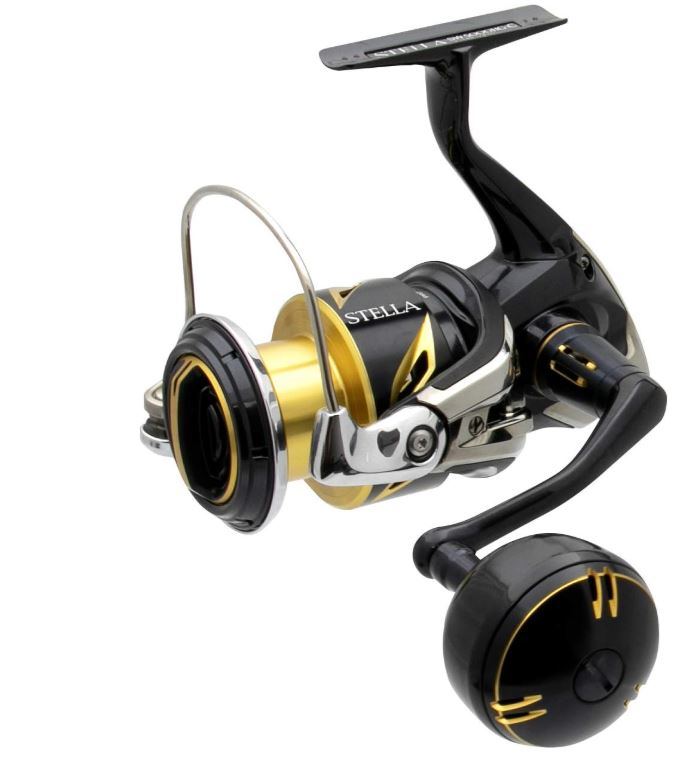
If budget is no concern, the Stella is the finest spinning reel you can buy. Silky smooth from the first crank, impossibly light for its power, and built to last decades. The drag startup is virtually zero — critical when a yellowtail hits your iron and you need instant, smooth pressure. Overkill for most anglers, but if you fish 50+ days a year, you’ll appreciate the difference.
Best Conventional Reels — 20lb Class
Conventional reels in the 20lb class are the go-to for bait fishing on party boats — dropping live bait down, fishing dropper loops for rockfish, or working a slider rig for yellowtail and white seabass.
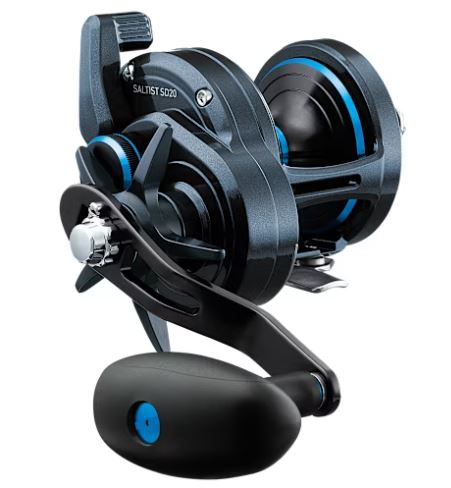
Best Overall: Shimano Torium 16
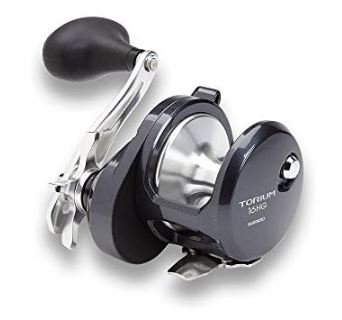
A compact star-drag conventional that’s perfectly sized for 20lb class fishing. Smooth drag, comfortable palming frame, and enough line capacity for anything in this class. The Torium excels on the party boat rail for bait fishing — drop it down, wait for the bite, and wind. Pairs well with a 7-foot graphite rod in medium to medium-heavy power.
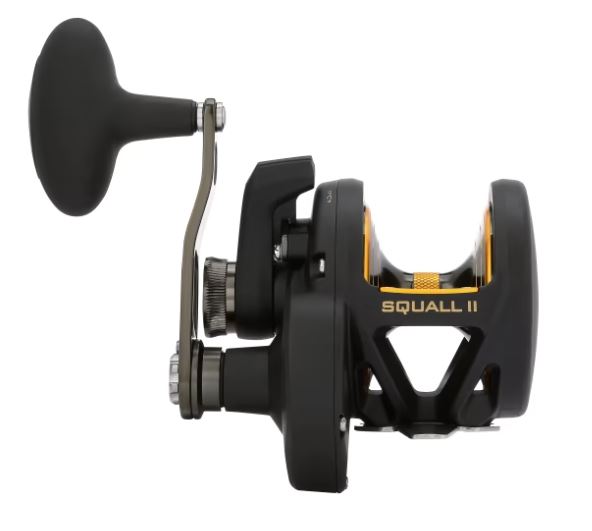
Best Value: Penn Squall II 15 (Star Drag)
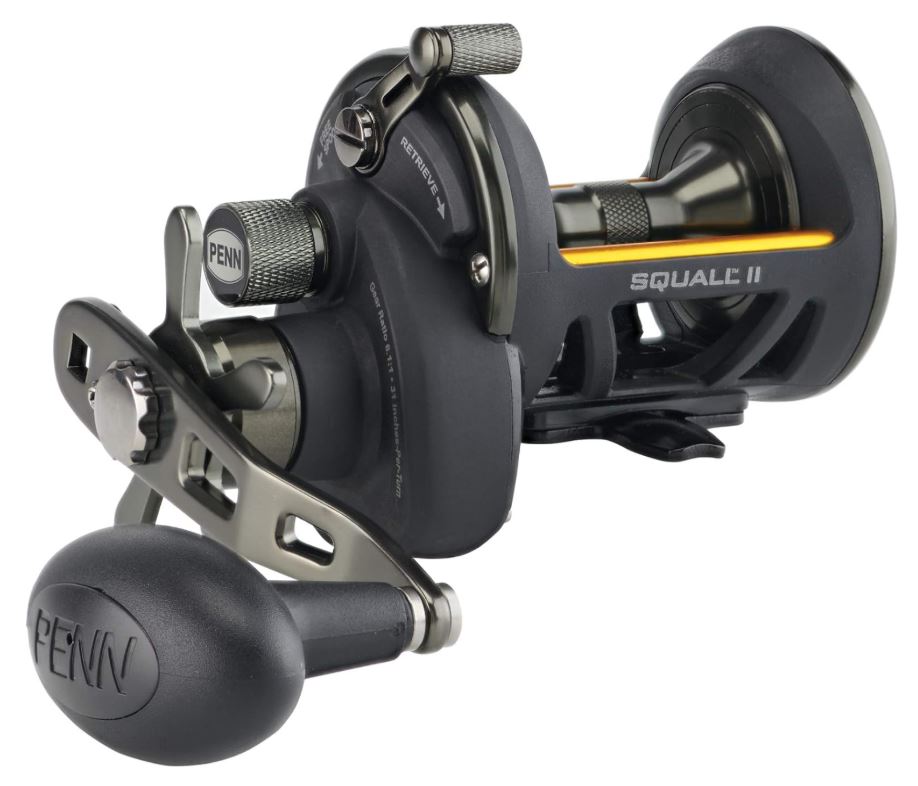
The Squall II 15 in star drag is a straightforward, reliable reel at a price that makes it easy to recommend. Star drag is simple — dial it in before you drop and you’re good. No fussing with a lever during the fight, just a smooth drag system that does its job. The Squall handles everything from calico bass to light-line yellowtail without flinching, and it’s tough enough for daily party boat abuse. You’ll find these in every tackle shop from San Diego to Santa Barbara. A great first conventional or a dependable backup reel.
Best for Casting Jigs: Accurate Valiant 300
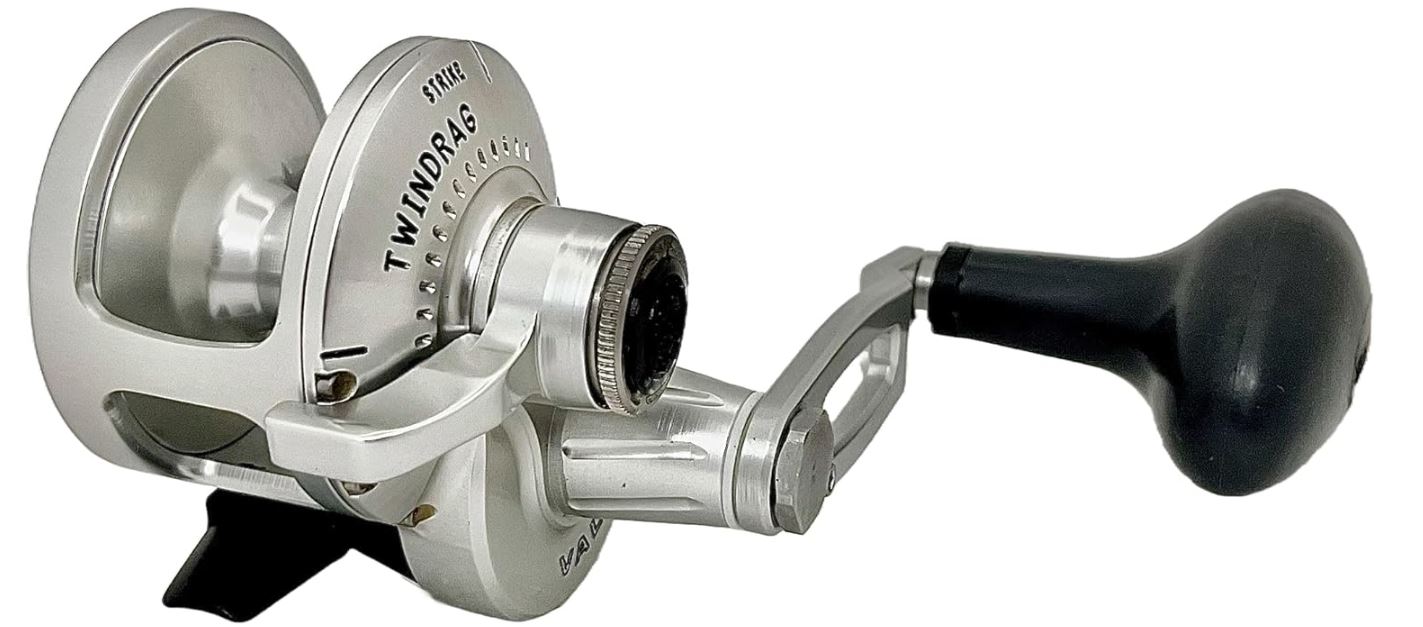
When you need a conventional reel that can also cast, the Valiant’s twin-drag system and free-spool performance make it the top choice. It casts jigs and irons nearly as well as a spinning reel while giving you the power and line capacity advantages of a conventional. Premium price, but if you want one conventional reel for everything — bait, iron, poppers — this is it.
Matching Rod and Line
Rods: A 20lb class reel pairs best with a 6’6″ to 7’6″ rod in medium to medium-heavy power. For spinning reels, a fast-action graphite rod maximizes casting distance for iron and swimbaits. For conventional reels used for bait fishing, a moderate-fast action gives you better fish-fighting leverage. A 7-foot offshore rod is the most versatile length for this class. See our complete rod and reel combo guide for specific pairings at every budget.
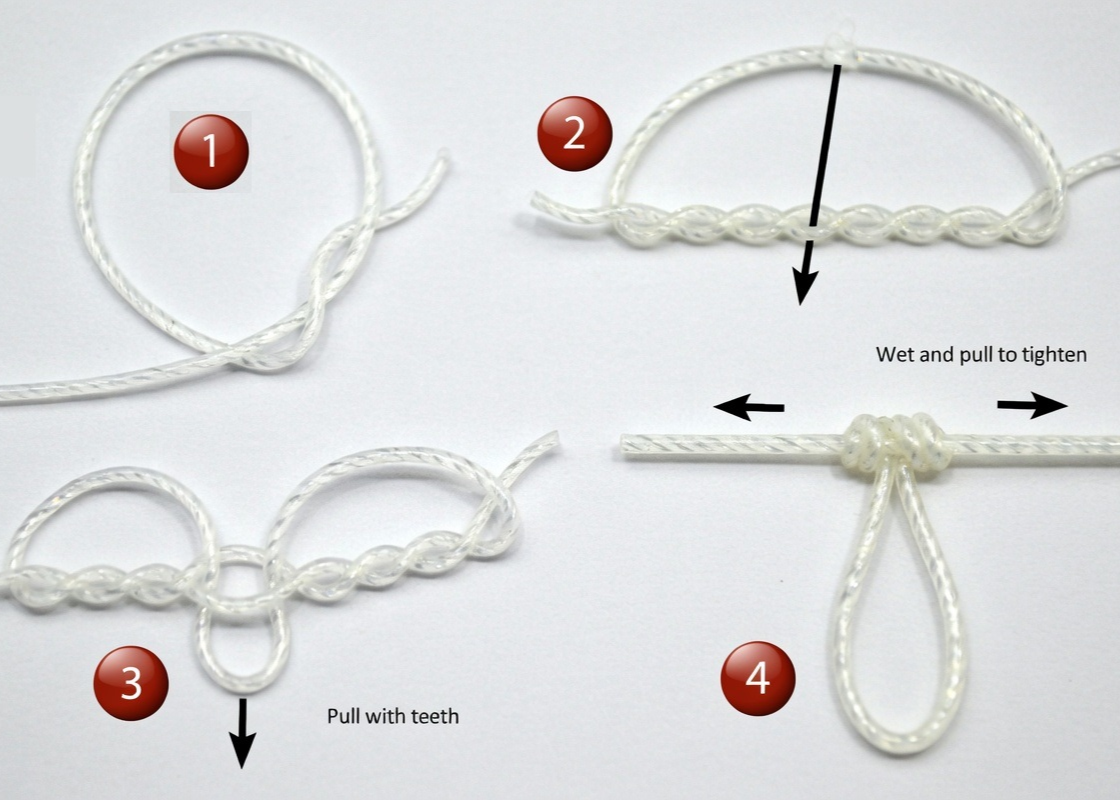
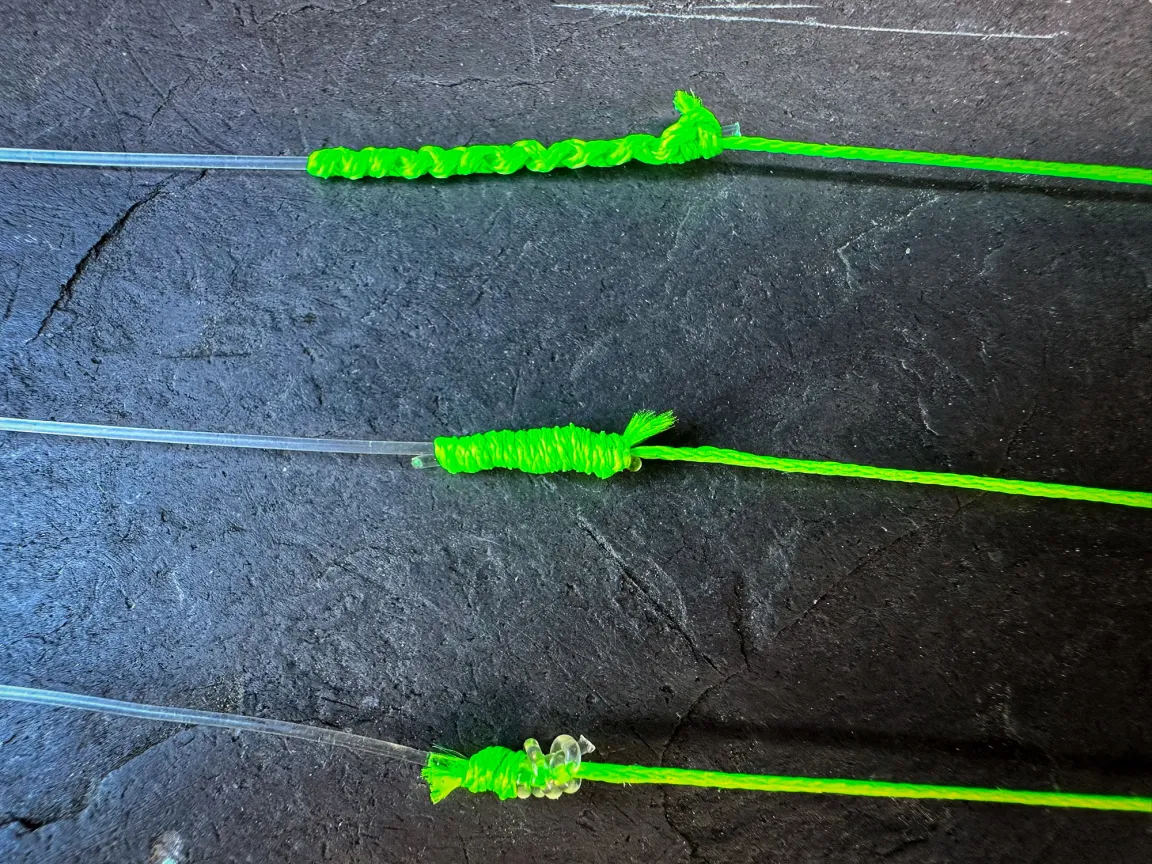
Line: 30–40lb braid as your main line, with 20–25lb fluorocarbon leader. This gives you sensitivity, casting distance, and the abrasion resistance of fluoro where it matters — near the fish. Connect them with an FG knot for a slim connection that passes through guides cleanly. See our line guide for top brand picks at every pound test.
Hooks: Circle hooks (1/0–3/0) for live bait, or check our hooks by species guide to match your target.
Rigs: A slider rig is deadly for yellowtail and white seabass in the 20lb class. For rockfish and bottom species, tie a dropper loop. For halibut on the sand, a Carolina rig with a swimbait is hard to beat.
20lb Class vs Other Line Classes
| Line Class | Best For | Too Light For |
|---|---|---|
| 12–15lb | Bay bass, perch, finesse work | Most offshore species |
| 20lb (this guide) | Calico bass, bonito, light yellowtail, white seabass, casting iron | Big bluefin, cow yellowtail |
| 30lb | Yellowtail, white seabass, school tuna | Giant bluefin |
| 40lb+ | Bluefin tuna, big yellowfin, cow yellowtail | Nothing — it’s the heavy class |
Frequently Asked Questions
What is a 20lb class reel used for?
The 20lb class is the most versatile line class in SoCal. It covers calico bass, sand bass, bonito, barracuda, smaller yellowtail, white seabass, sheephead, lingcod, and casting surface iron. It’s the standard reel for half-day and 3/4-day party boat trips.
Should I get spinning or conventional for 20lb?
Get spinning if you mainly cast iron, swimbaits, or live bait — the casting distance advantage is significant. Get conventional if you mostly bait fish on party boats using dropper loops or slider rigs. Many anglers carry one of each.
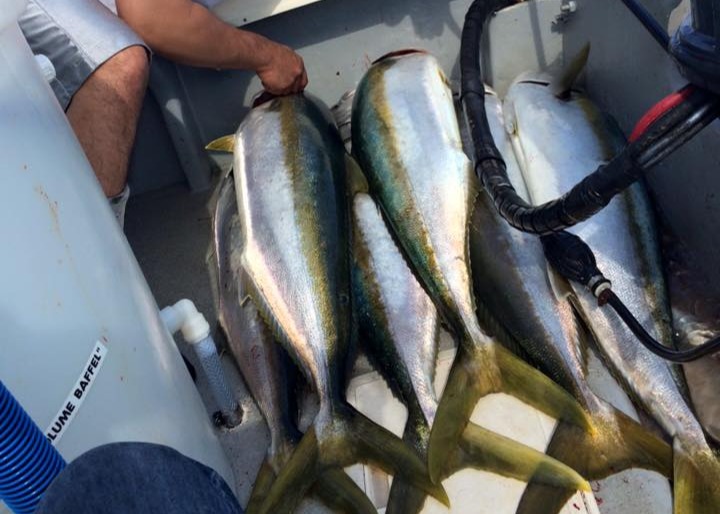
Can I catch yellowtail on a 20lb reel?
Yes — school-size yellowtail (10–20 lbs) are a blast on 20lb gear, especially on iron. For bigger yellowtail (25+ lbs), a 30lb setup gives you more margin, and a dedicated yellowtail reel is worth considering if you target them regularly.
What’s the best first saltwater reel?
The Daiwa BG MQ 4000 is the best entry point — excellent performance at a price that doesn’t hurt if saltwater is rough on it. Pair it with a 7-foot medium-heavy rod and 30lb braid, and you’re ready for most SoCal fishing. See our combo guide for a complete setup.
What line should I use on a 20lb reel?
30–40lb braided line with a 20–25lb fluorocarbon leader. Braid gives you capacity, sensitivity, and casting distance; fluoro gives you invisibility and abrasion resistance near structure. See our line guide for specific brands.
What rod pairs best with a 20lb reel?
A 7-foot medium to medium-heavy rod is the most versatile pairing. Graphite keeps the weight down for long days of casting. For surf fishing, consider a dedicated surf rod with a surf reel instead.
Plan Your Trip
Check conditions before heading out:
- SST Chart — Water temperatures and temperature breaks
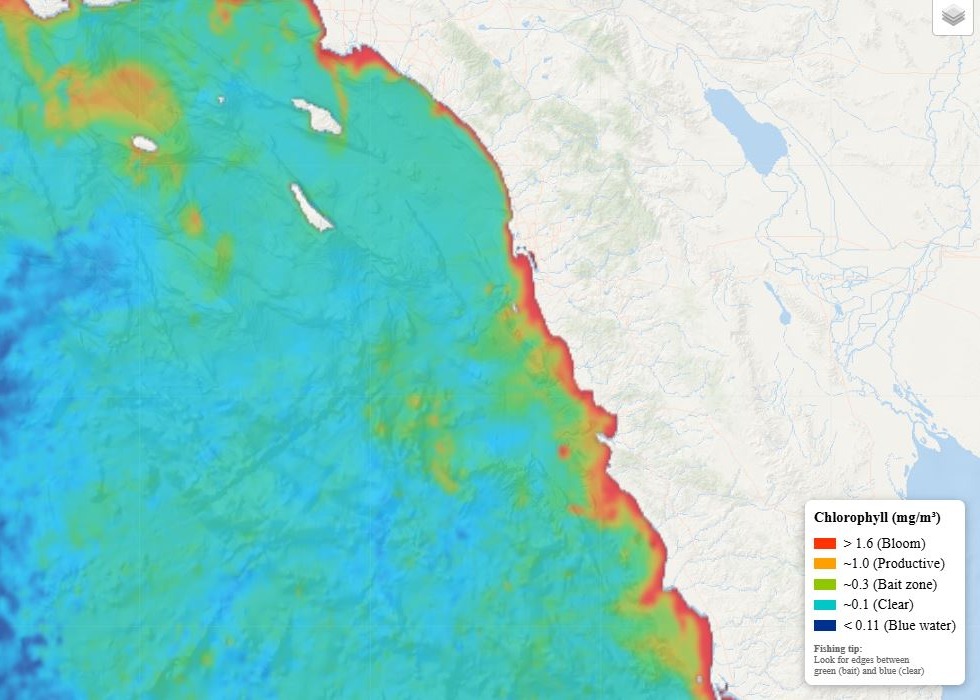
- Chlorophyll Map — Where bait is stacking up
- Marine Weather — Wind, swell, and sea conditions
- Fleet Tracker — Where the fleet is finding fish
- AI Fishing Predictions — Data-driven forecasts for SoCal
- SD Fishing Season Calendar — What’s biting this month
- Overnight Trip Packing List — If you’re booking an overnighter
Related Guides
- Best 30lb Reels — step up for yellowtail and tuna
- Best 40lb+ Reels for Tuna — heavy class for bluefin
- Best Reel for Yellowtail — species-specific picks
- Best Reel for Bluefin Tuna
- Best Surf Fishing Reel
- Best 7ft Offshore Rods
- Best Rod & Reel Combos for SoCal
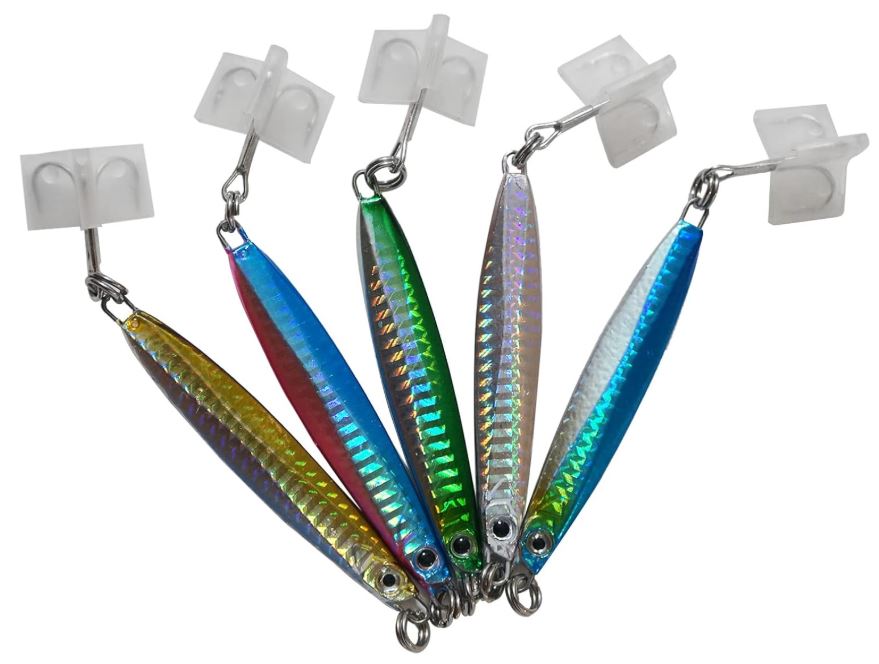
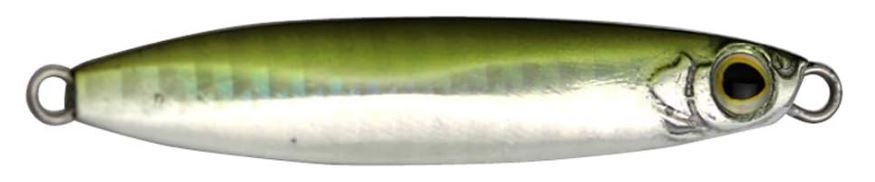
- Surface Iron Fishing Guide
- Jigs vs Irons vs Poppers
- Best Jigs and Irons for Yellowtail
- Best Swimbaits for Halibut
- Best Lures for Dorado
Tight lines!