Plunking is the PNW shore-based salmon technique that delivers without a boat. The angler casts a heavy weight far enough offshore to reach holding water, sets the rod in a sand spike (vertical rod holder), and waits for the rod tip to telegraph a strike. The technique is patient — sometimes hours between bites — but produces fish that other techniques can’t reach when boats aren’t available. For Columbia River bank anglers, plunking is the dominant method. For anglers without boat access on other PNW rivers, plunking opens up productive water otherwise unreachable.
This guide covers the plunking technique — the rig setup, the gear, the locations that consistently produce, and the patience required. The technique pairs well with bobber-doggin’ for active drift sections and with the broader Pacific salmon fishing guide for non-shore techniques.
What Plunking Is
Plunking is fishing a stationary baited rig from the bank, with heavy weight holding the rig against current. The angler casts the rig out, plants the rod in a sand spike (a rod holder driven into the riverbank), and waits for fish to find the bait. When a salmon takes, the rod tip bends sharply and the angler responds.
The technique trades active engagement for accessibility. Where mooching requires a boat, bobber-doggin’ requires active casting and drift management, and trolling requires specialized gear — plunking lets an angler with a single rod, basic terminal tackle, and bait fish productive water from any bank-accessible river. Multiple plunking rods can be deployed simultaneously (within state regulations), giving the angler odds across several baited positions.
The Plunking Rig
The standard plunking rig has these components, from rod tip downward:
- Mainline — 30-40 lb monofilament or 50 lb braid (heavy line for heavy weight and big fish)
- Swivel — connects mainline to leader system
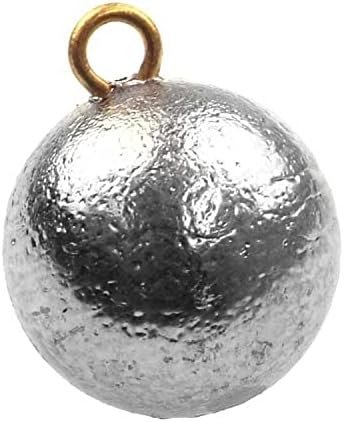
- Pyramid sinker or heavy lead — 6-12 oz typically, holds bottom in current
- Sliding swivel or three-way swivel — connects sinker line
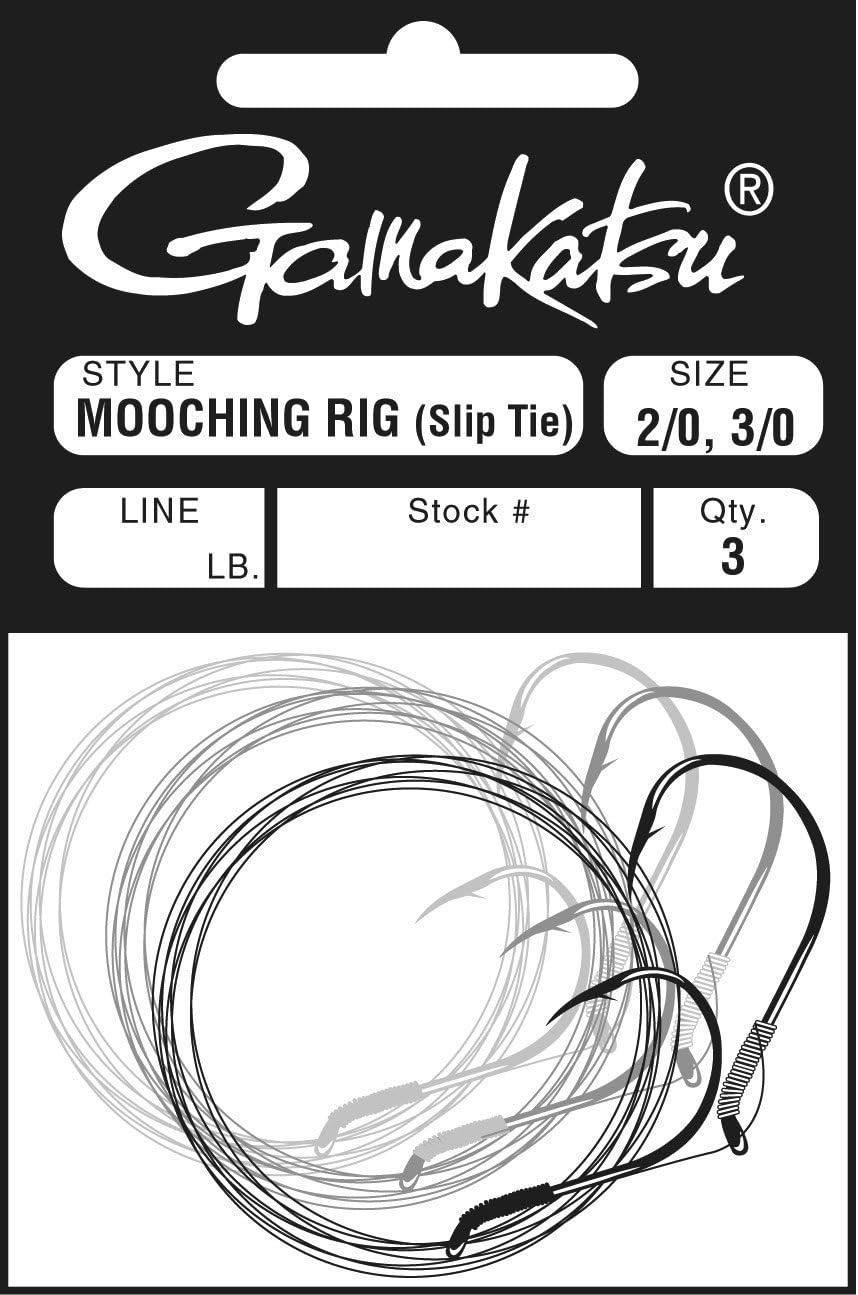
- Leader with Spin-N-Glo + bait — 24-36 inches of 20-30 lb fluorocarbon, terminating in a hook with Spin-N-Glo and cured eggs or sand shrimp
The rig’s design positions the Spin-N-Glo and bait off the bottom (the Spin-N-Glo floats the leader up) while the heavy weight holds position against current. The result: bait at fish-eye level in the holding water, anchored against current that would otherwise sweep the rig downstream.
Pyramid Sinkers (6-12 oz)

Pyramid sinkers are the plunking weight standard. The four-sided pyramid shape digs into riverbed sand and gravel, holding position against current that would roll round or oval weights downstream. Weight selection matters significantly: 6 oz for moderate current, 8 oz for typical Columbia River plunking, 10-12 oz for heavy current or deep water positioning. Most serious plunkers carry multiple weight sizes and switch based on current conditions and where they’re fishing. Lead is the standard material; lead-free alternatives exist for anglers concerned about environmental impact. The heavy weight requires appropriate rod power — see the Pacific salmon rods guide for plunking-capable rod options.
Spin-N-Glo (Cross-Reference)
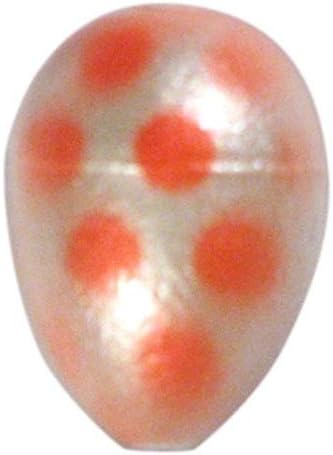
The Spin-N-Glo provides the visual attraction and natural buoyancy that positions plunking bait off the bottom. Featured in detail in the lures and plugs guide. Color matters: chartreuse, fire tiger, orange, and red are universal plunking producers. Size varies by target — larger Spin-N-Glos for Chinook, smaller for Coho. The rotating wings produce visual attraction even at the stationary plunking position.
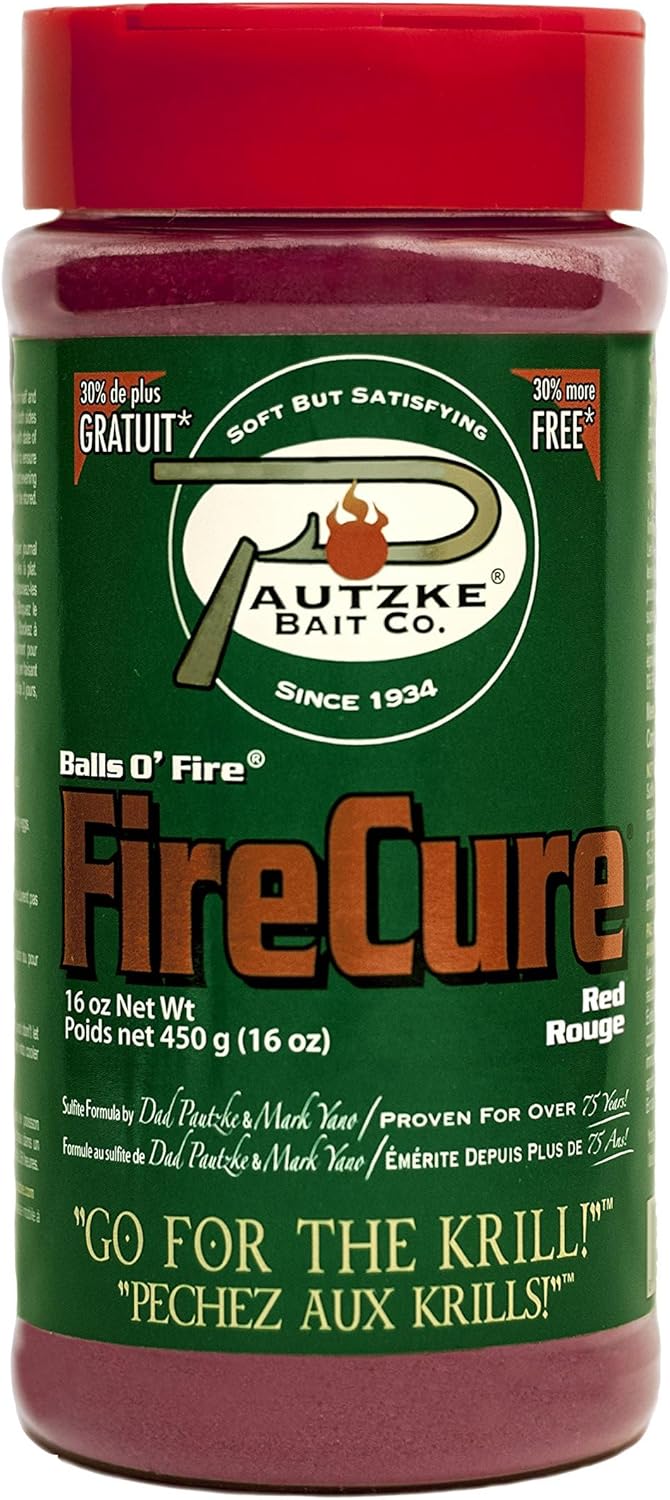
Pautzke Fire Cure (Cross-Reference)
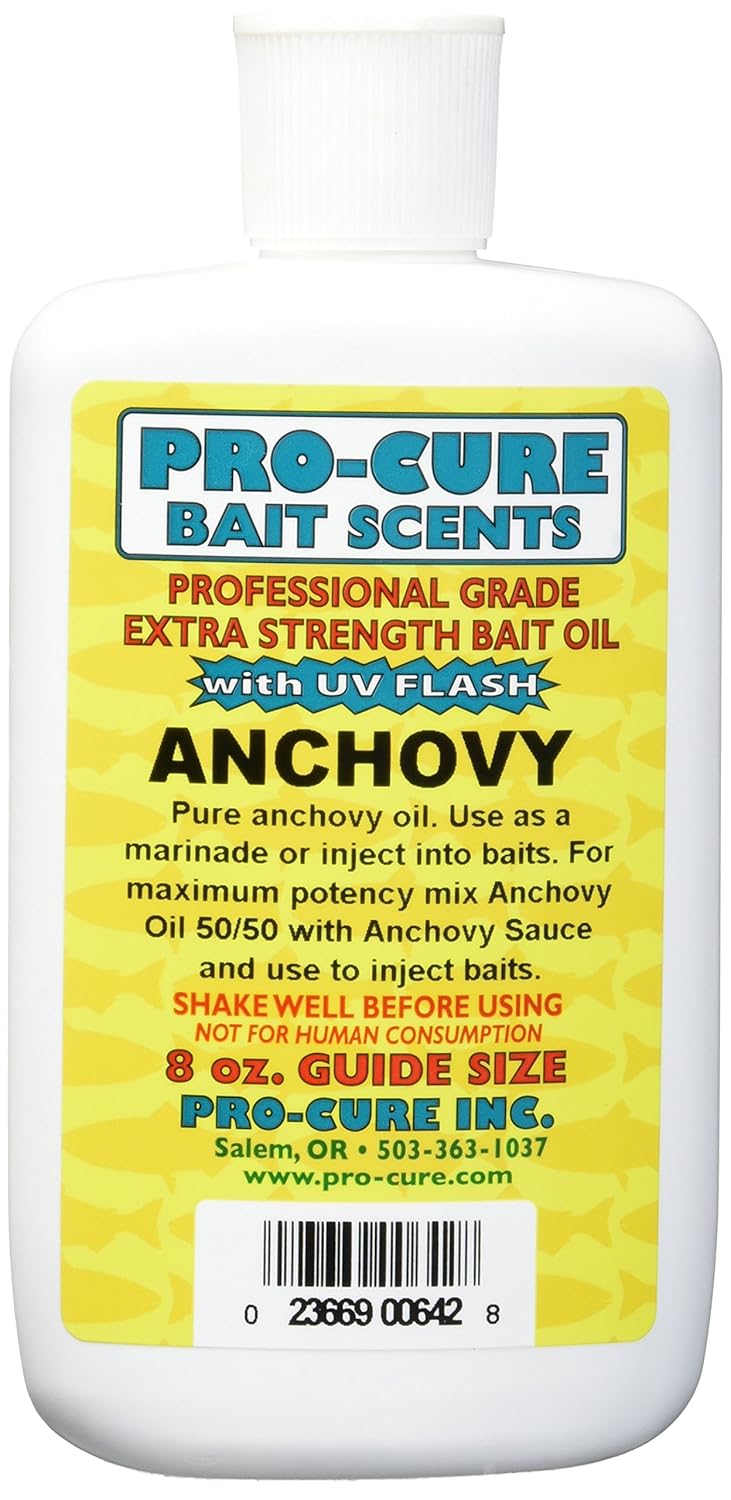
Cured salmon roe is the standard plunking bait. Featured in detail in the bobber-doggin’ guide for the curing process. The cure makes eggs tough enough to stay on the hook through casts and hours of current, while preserving the scent attraction that triggers strikes. Sand shrimp and prawn tails are alternatives where eggs aren’t available or productive.
The Sand Spike
The sand spike is the vertical rod holder that defines plunking. Standard design: a metal tube with a pointed bottom (drives into riverbed sand) and an open top (rod sits inside). The spike is driven into the bank or riverbed, the rod set inside, and the line tightened against the weight so the rod tip stays bent slightly under tension. Any additional pull on the line — from a fish or from drift adjustments — bends the rod tip noticeably.
Multiple sand spikes can be deployed if state regulations allow multiple rods (Washington allows up to 2 rods per angler in most freshwater areas with appropriate endorsement; Oregon allows 1 unless on specific designated waters). Most serious plunkers deploy 2 rods to double their odds.
Sand spikes are sometimes substituted with rocks, sticks, or improvised holders — but a dedicated sand spike provides the angle and stability needed to read subtle bites. Many tackle shops sell purpose-built sand spikes for $20-40.
Where Plunking Works Best
Columbia River banks. The dominant plunking destination. Multiple established plunking spots from Astoria upstream — Lewis & Clark Bridge area, Davis Bar, North Jetty (Ilwaco), South Jetty, various locations along the Columbia all support plunking. Bank-accessible water with the right depth and current characteristics.
Lower river mouths. Where smaller rivers enter the Columbia or directly into Puget Sound — plunking from the banks catches fish staging before pushing upriver.
Drifting plunking locations. Other PNW rivers with bank access — Cowlitz, Lewis, Kalama, Wynoochee, and others — produce plunking when fishing pressure is low and access is good.
Estuary edges. Tidewater zones where rivers meet salt water sometimes support plunking, particularly during incoming tide stages when fish push upstream.
Plunking doesn’t work well in fast turbulent water (where holding the rig is impossible), very shallow water (where the rig spooks fish), or water without defined holding structure. Match the technique to water type.
When Plunking Produces
| Period | Activity | Best Targets |
|---|---|---|
| May-June | Spring Chinook | Columbia River, Willamette banks |
| July-August | Summer Chinook, sockeye | Upper Columbia (Hanford Reach) |
| August-September | Buoy 10 + fall Chinook entry | Lower Columbia banks, North/South Jetty |
| September-October | Fall Chinook in tributaries, Coho | Cowlitz, Lewis, Kalama, smaller PNW rivers |
| October-November | Late Coho, early steelhead | Smaller PNW rivers; lighter rigs for Coho |
August-September is peak plunking on the Columbia. Multiple Chinook runs converging, fish staging at established plunking locations, and the established bank-fishing community out in force. Get to popular spots early — established plunkers stake their positions before dawn.
The Plunking Technique
- Pick a productive location. Established plunking spots have produced fish for decades. Talk to local tackle shops about current spots. Watch where other plunkers congregate.
- Set up the sand spike. Drive the spike into the riverbed sand or anchor it into rock structure. The spike should hold the rod at roughly a 45-degree angle pointing upward.
- Prepare the rig. Attach pyramid sinker, set the leader length, bait the hook with cured eggs or sand shrimp, attach the Spin-N-Glo.
- Cast out. Cast the rig as far as you can reach — typically 30-80 yards depending on the water. The rig should land in the holding zone you’ve identified.
- Set the line tension. Reel up slack until the rod tip bends slightly under pressure. This is the “set” position — you’ll watch for changes from this baseline.
- Place rod in sand spike. Set the rod in the spike with the reel facing up and the rod tip bent slightly.
- Wait and watch. The rod tip’s behavior signals strikes. A sustained bend means a fish has taken. Active tip-jiggling sometimes means a smaller fish; large bends mean larger fish.
- Set the hook. Pick up the rod, reel in slack, and sweep up firmly. The heavy weight that held position now drives the hook home as the angler reels in.
- Fight the fish. Bank-based salmon fights require keeping the fish away from snags and structure. Use the rod’s leverage to control the run. Land the fish at an accessible spot — many plunkers carry long-handled nets for this.
- Re-bait and recast. If you keep the fish, secure it. Re-bait the hook, re-cast, and reset.
Reading the Rod Tip
The rod tip is your bite indicator. Key patterns:
Sustained bend. Rod tip stays bent — fish has the bait and is pulling steadily. Set the hook.
Repeated taps. Rod tip jiggles repeatedly — often smaller fish (Coho) or fish nipping at the bait without committing. Wait for a sustained bend.
Slack line. Rod tip straightens unexpectedly — the rig has either come loose, been carried by current, or a fish has moved toward you. Reel in slack and check.
Sudden large bend. Rod tip slams down — large fish has hit. Set hook immediately.
Steady drift. Rod tip slowly bends as line drifts in current — natural drift, no fish. Re-cast or adjust weight if drift is excessive.
Common Mistakes
Wrong weight for current. Light weight allows the rig to drift; too heavy makes casting impossible. Match weight to current: 6 oz minimum for typical Columbia plunking; 10-12 oz for heavy current.
Insufficient line. Plunking requires throwing distance and fish-fighting capacity. 30-40 lb line is minimum; many anglers run 50 lb braid for the strength margin.
Skipping the sand spike. Holding the rod is exhausting over hours; the sand spike is essential. Don’t try to plunk without one.
Wrong location. Plunking spots are specific. Random bank fishing doesn’t produce well; established locations produce because they hold fish. Use local knowledge.
Leaving rigs unattended. A fish on an unattended rod can take the rod into the water, break the line, or escape unnoticed. Stay within rod-reach distance.
Wrong bait condition. Plunking bait sits in water for hours — quality matters. Cured eggs hold up; fresh eggs wash out. Plan bait for the duration of your plunking session.
Ignoring tide stages. On tidewater plunking sites (lower Columbia, Buoy 10), tide stages dramatically affect productivity. Outgoing tides often produce best for staging fish; incoming tides for fish pushing upstream.
Not bringing comfortable seating. Plunking sessions run 4-8 hours. Folding chair, food, water, and weather protection make the difference between comfortable productive fishing and a miserable few hours.
Gear Pairings
- Best Pacific Salmon Rods — Lamiglas Kwikfish or St. Croix Onchor handle plunking
- Best Pacific Salmon Lures and Plugs — Spin-N-Glo, cured eggs
- Best Fishing Knots
- Best Fishing Line by Pound Test
- Best Hooks by Species
- Braid vs Mono vs Fluorocarbon
- Pacific Salmon Fishing Guide
- Pacific Salmon Safety Guide
Frequently Asked Questions
What is plunking for salmon?
The PNW shore-based fishing technique: a heavy weight holds a baited rig in place against current, the rod sits in a sand spike (vertical rod holder), and the angler waits for fish to take. Patient bank fishing that delivers without a boat.
What weight do I need for plunking?
6-12 oz pyramid sinkers for typical PNW plunking. 6 oz for moderate current, 8 oz for typical Columbia conditions, 10-12 oz for heavy current. Pyramid sinkers are the standard.
What’s the best bait for plunking?
Cured salmon eggs paired with a Spin-N-Glo for visual attraction. Sand shrimp or coon shrimp are alternatives. The cure (Pautzke Fire Cure) toughens eggs to stay on through hours of plunking.
Where can I plunk for salmon?
Columbia River banks are the premier destination (Davis Bar, North/South Jetty, various established locations). Smaller PNW rivers (Cowlitz, Lewis, Kalama) also produce. Most established plunking spots are known to local tackle shops.
How long does plunking take?
4-8 hour sessions are standard. Plunking is patient fishing — sometimes hours between bites. Many serious plunkers fish multiple times per day across tide stages and light conditions to maximize odds.
Can I plunk for Coho?
Yes, with lighter rigs. Coho plunking uses smaller weights (4-6 oz), smaller bait/Spin-N-Glo combinations, and lighter mainline. Less common than Chinook plunking but produces in fall river runs.
Do I need a license for plunking?
Yes — same as all PNW salmon fishing. Plus a salmon endorsement (state-specific) and any required catch record cards. Verify current state regulations before each trip.
Plan Your Trip
- SST Charts
- Fleet Tracker
- Marine Weather
- AI Fishing Predictions
- Pacific Salmon Fishing Guide
- Pacific Salmon Safety Guide
- Columbia River Salmon Fishing
Related Guides
- Pacific Salmon Fishing Guide
- Pacific Salmon Safety Guide
- Best Pacific Salmon Rods
- Best Pacific Salmon Lures and Plugs
- Mooching for Salmon
- Bobber-Doggin’ for Salmon
- Pacific Chinook Salmon Fishing
- Pacific Coho Salmon Fishing
- Columbia River Salmon Fishing
- Puget Sound Salmon Fishing
- Best Fishing Knots
- Best Fishing Line by Pound Test
- Best Hooks by Species
- Pier Fishing for Salmon (Great Lakes)
Tight lines!